I don’t know about you, but it feels like winter is never going to end. Maybe it’s the snow storm we were slapped with last night, or the fact that we’ve already gotten what feels like a taste of spring with 40-50 degree days, but I know I’m ready to wear sandals and not have to run out to my car in the mornings to start it up before work.
Though I shamelessly love most things winter, there’s something about getting a taste of spring weather and getting it taken away. And while I’ll definitely miss nesting, weekend long baking projects, and not needing an excuse to hide at home all weekend long (I swear I’m totally cleaning and being productive) I’m about ready for things to be green again and not just brown and sad. But for now, while the mornings are too bitter for a wimp like me to go for runs and the cold rain is enough to stop anyone from hiking I’ll be hiding in my kitchen enjoying the warmth that comes from keeping the stove running all day. Which is exactly why I broke out one of my favorite recipes the other week.
In my early 20s, straight out of culinary school, I interned at America’s Test Kitchen. While this was an experience in itself, I was also lucky enough to end up with some really great recipes in my back pocket, and I even ended up getting the Cook’s Illustrated Baking Book for Christmas that year. In the two years that I was baking professionally you’d be hard pressed to find that book anywhere other than my bake station. There may have been some recipes that didn’t hold up that well, but there were certain recipes that had everything I look for in a recipe. They were delicious, consistent, and not impossibly challenging to make.
These cinnamon buns fall right on that line, of challenging enough that you can look back at what you just made and thing “yeah, I’m pretty good at this” but not so difficult that you need to do anything beyond measuring out the ingredients and following the recipe. This isn’t one of those “you can just throw crap in a bowl and it’ll turn out fine” kind of recipes though. While these cinnamon buns are worth the time and effort to make them at home, they won’t be if you don’t measure everything out or decide to swap out five ingredients.
If you do follow the recipe though, trust me, it’ll be worth it. In just a few hours, only about thirty of which require active prep, you’ll be rewarded with gooey cinnamon deliciousness and a house that smells better than any Yankee Candle ever. So if you’re snowed in today, or looking for an excuse to hide at home all day on Saturday, then look no further.

Here’s what you’ll need:
For the dough (straight from here) –
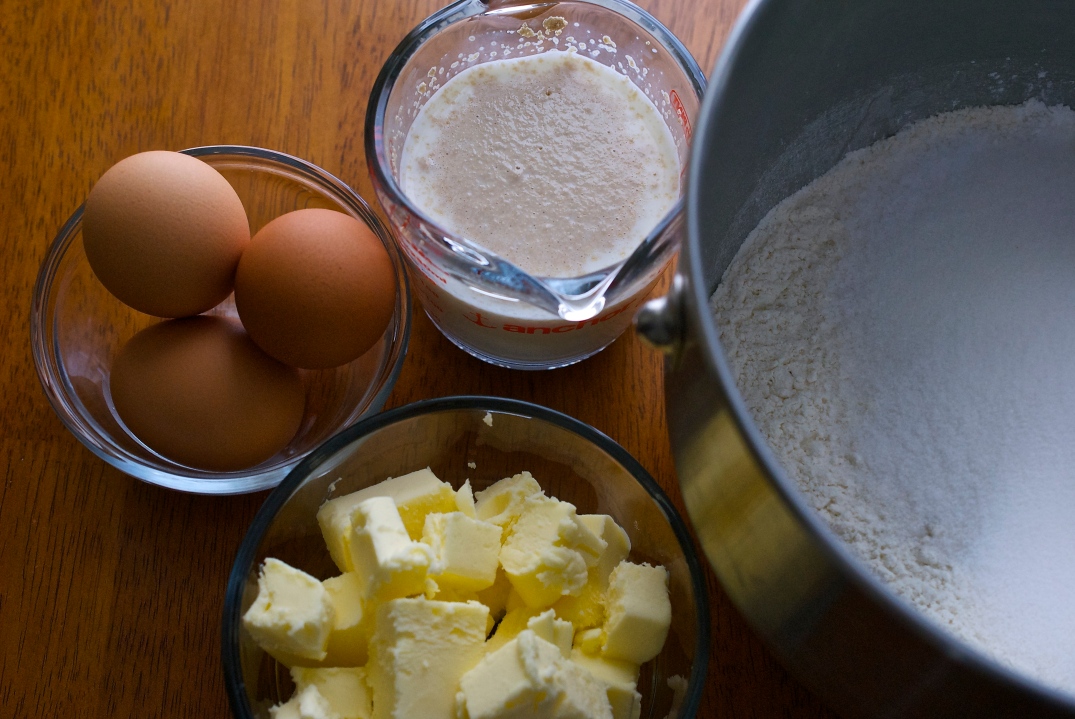
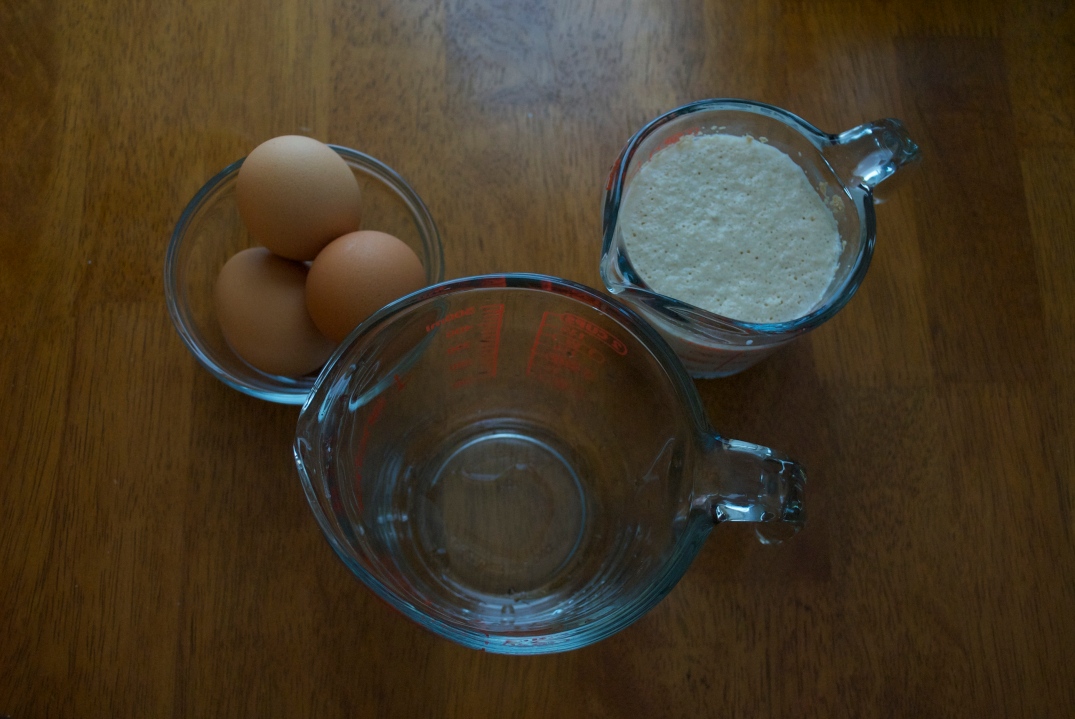
¾ cup (6 ounces /170 grams) warm whole milk
2 ¼ teaspoons instant yeast
3 large eggs
4 ¼ – 4 ½ cups (21 ¼ – 22 ½ ounces/ 595 – 630 grams) AP flour
½ cup (3 ounces /80 grams) Corn Starch
½ cup (3 ½ ounces / 98 grams) Sugar
1 ½ teaspoons salt
12 tablespoons (6 ounces/170 grams) very soft butter, cubed [plus more for the pan]
For the filling (straight from here) –
1 ½ cups (10 ½ ounces/ 300 grams) light brown sugar [or a 50/50 mix of granulated and dark brown sugar]
1 ½ tablespoon ground cinnamon
½ teaspoon kosher salt
4 tablespoons (2 ounces/55 grams) very soft butter
For the glaze (adapted from here)–
4 tablespoons (2 ounces/55 grams) melted butter
2 cups (8 ounces/224 grams) powdered sugar
1 teaspoon vanilla extract
1 pinch salt
3-6 tablespoons warm milk
Here’s what you need to do:
For the Dough –
Line a 13 x 9” or two 9×9” baking dish with tin foil, coat with butter and then flour. Set aside. Whisk the milk and yeast together and set aside until the yeast dissolves and becomes slightly foamy.
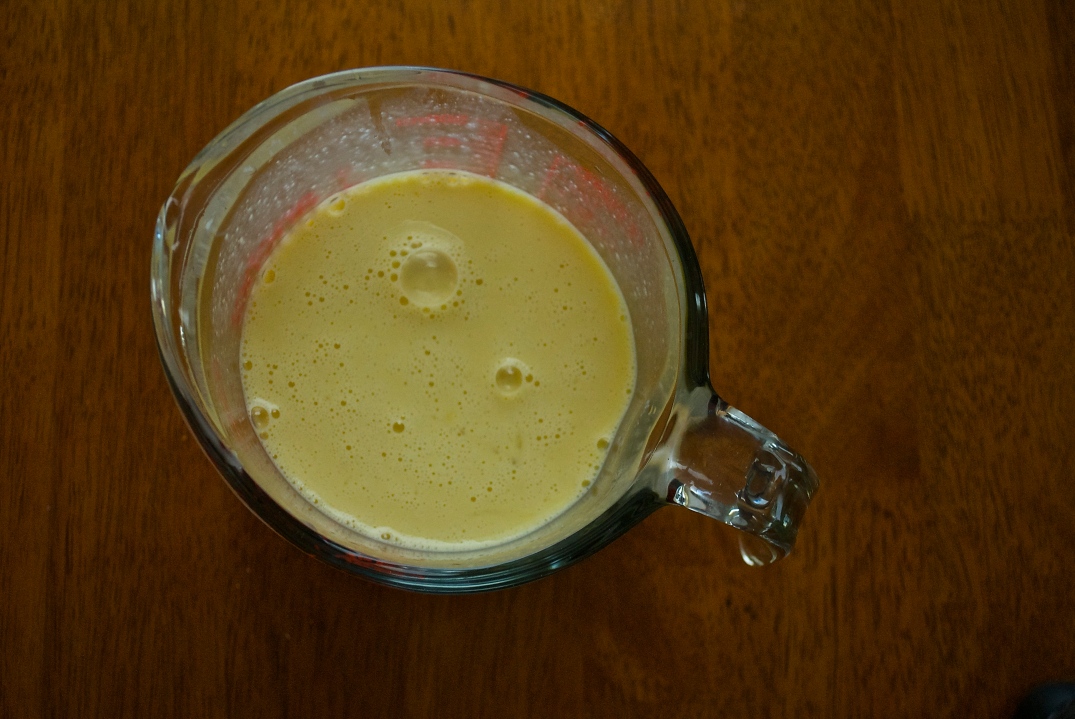
Add in the eggs and whisk thoroughly.
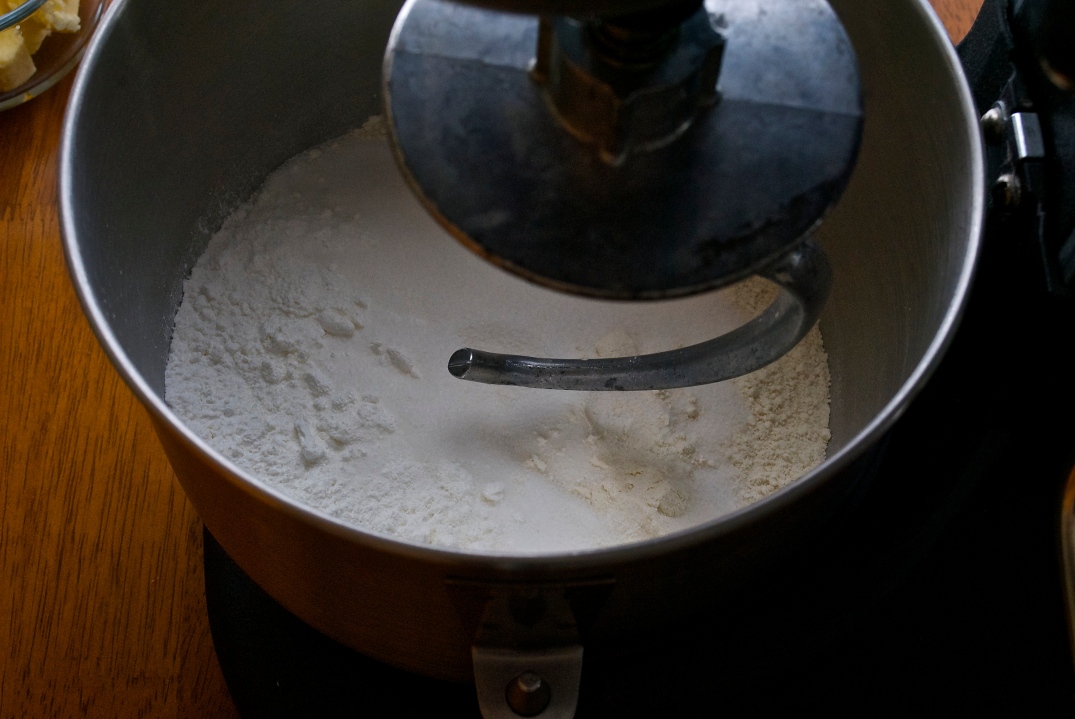
Using a stand mixer that has the dough hook attachment, add flour, cornstarch, sugar, and salt. Mix together until combined.
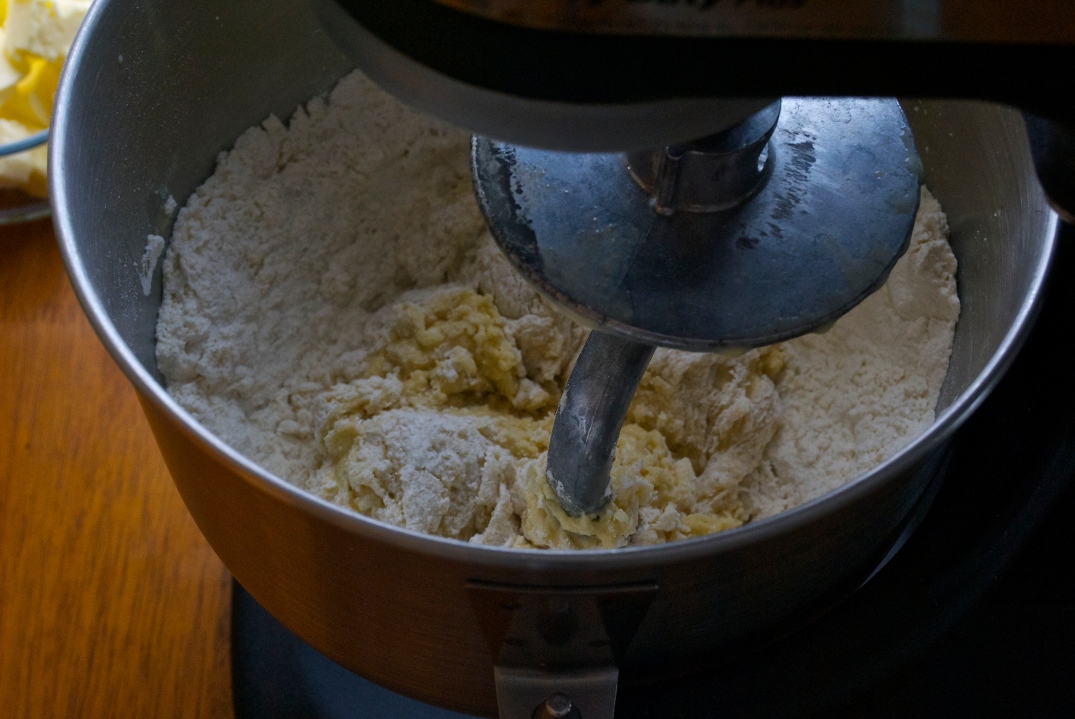
Slowly add warm milk mixture and continue to mix for another minute.
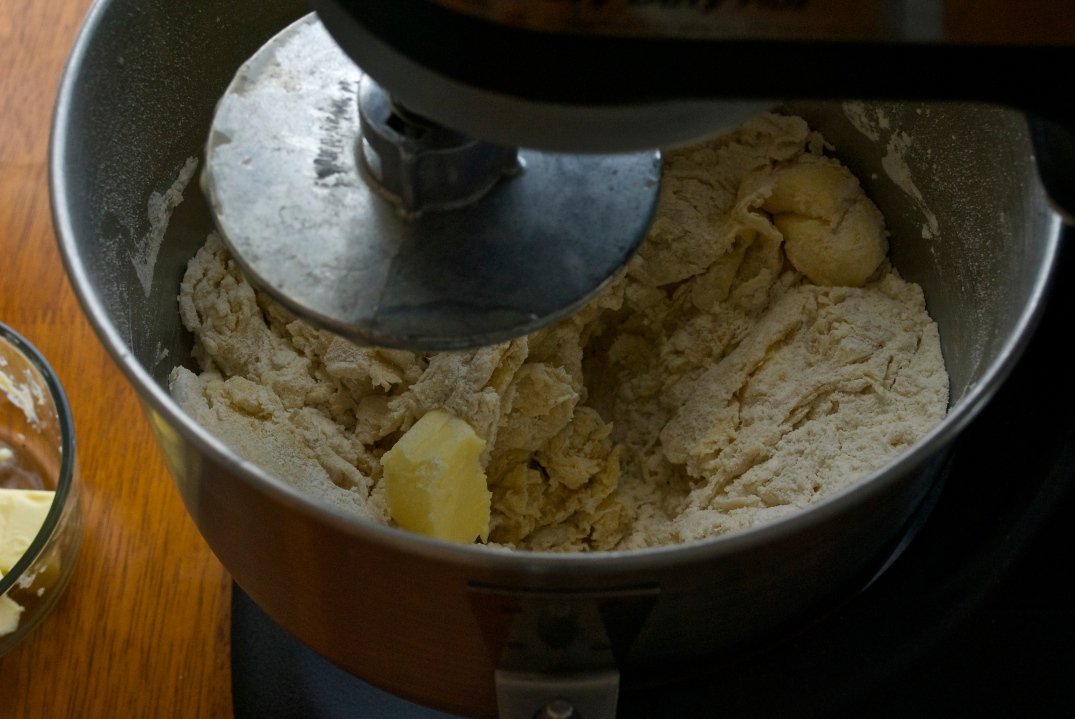
Once the dough begins to combine, increase the mixer to medium speed and add the butter in one cube at a time.
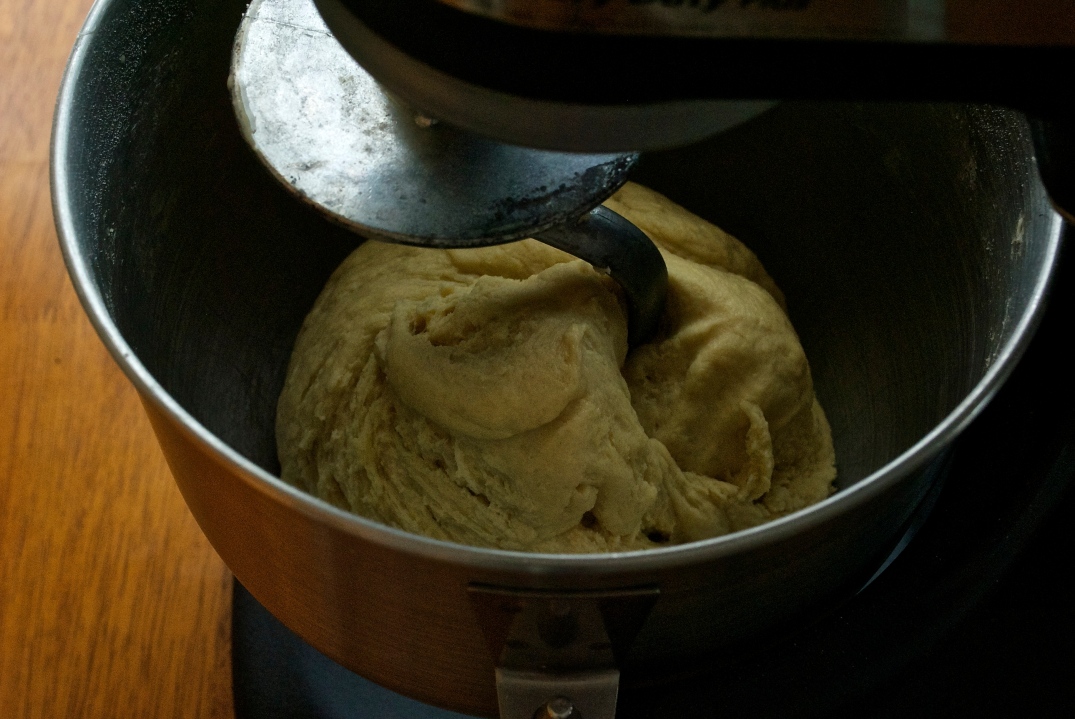
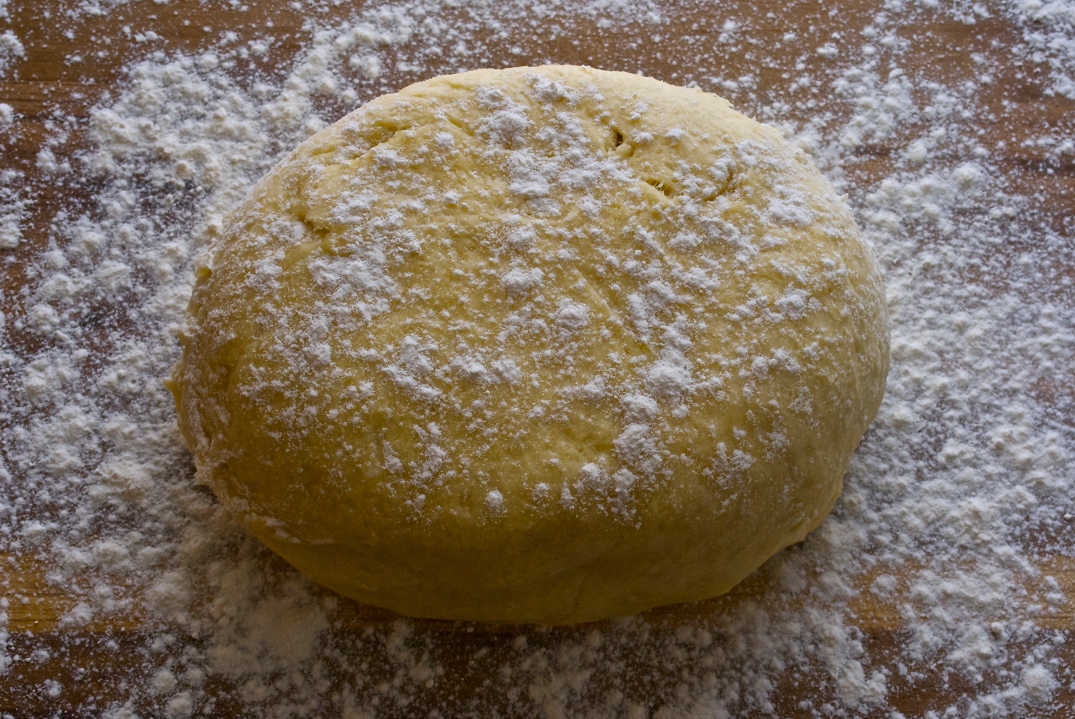
Once the dough is smooth and comes away from the sides of the bowl, remove it from the mixer. If needed, add additional flour a few tablespoons at a time.
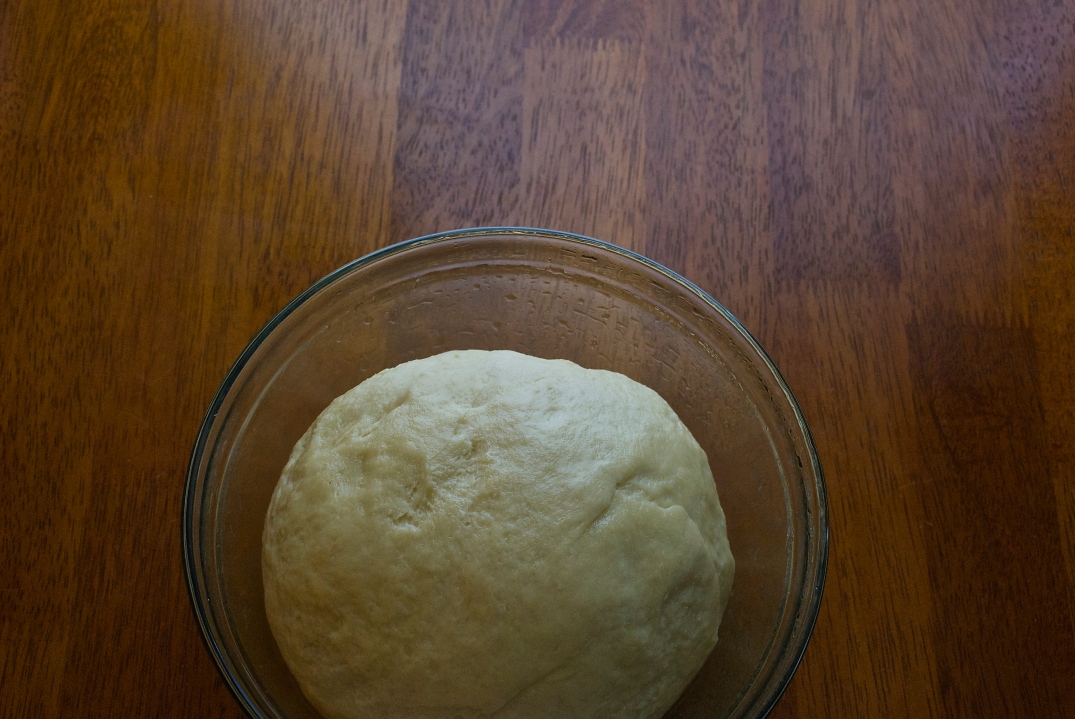
Once the dough is smooth, remove from the mixer and place onto a floured surface. Knead the dough with your hands until it forms a smooth ball. Place into an oiled bowl, cover, and place into the oven. In a separate pan, add three cups of boiling water. Let the dough rise for two hours until doubled in size.
For the Filling –
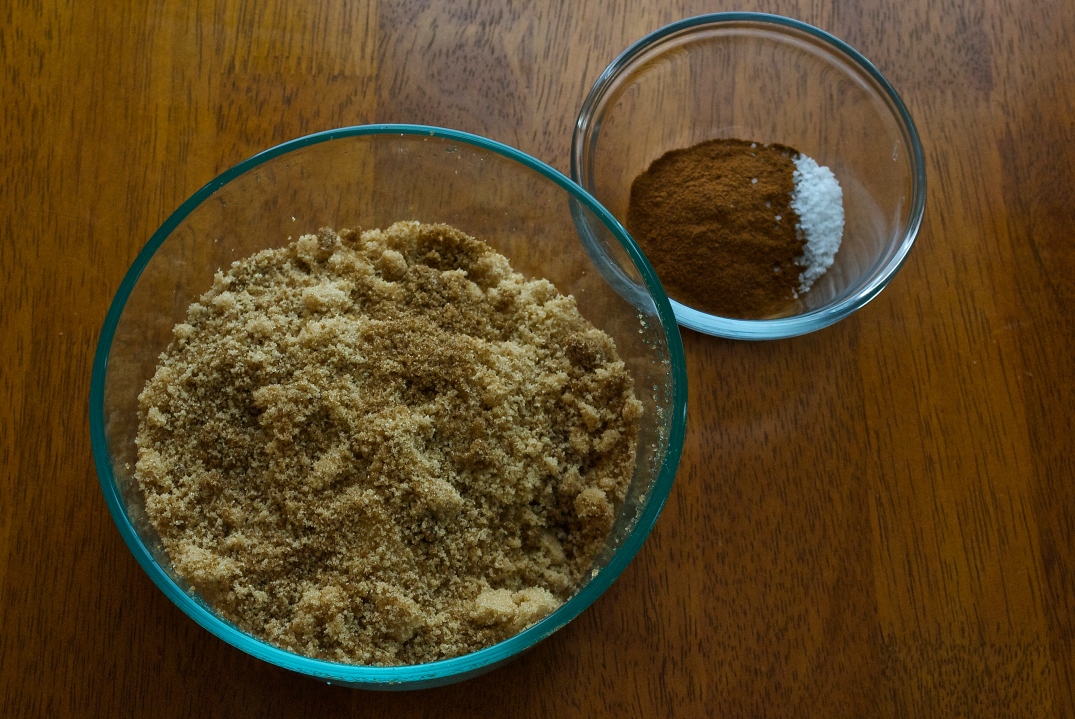
Combine brown sugar, cinnamon and salt in a bowl.
Take the dough out of the oven and turn out onto a lightly floured surface.
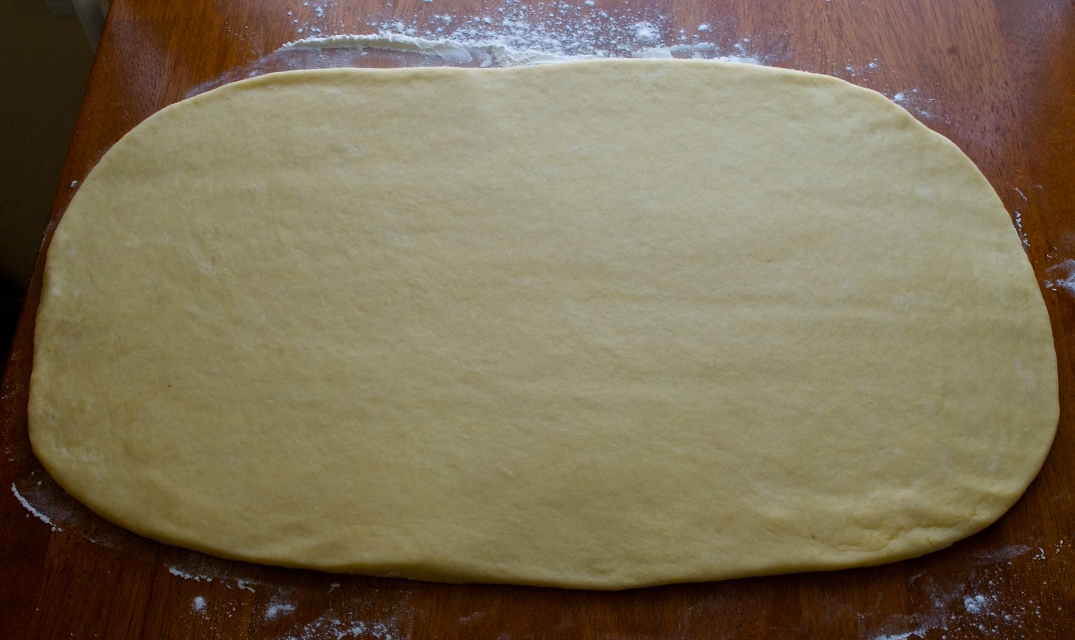
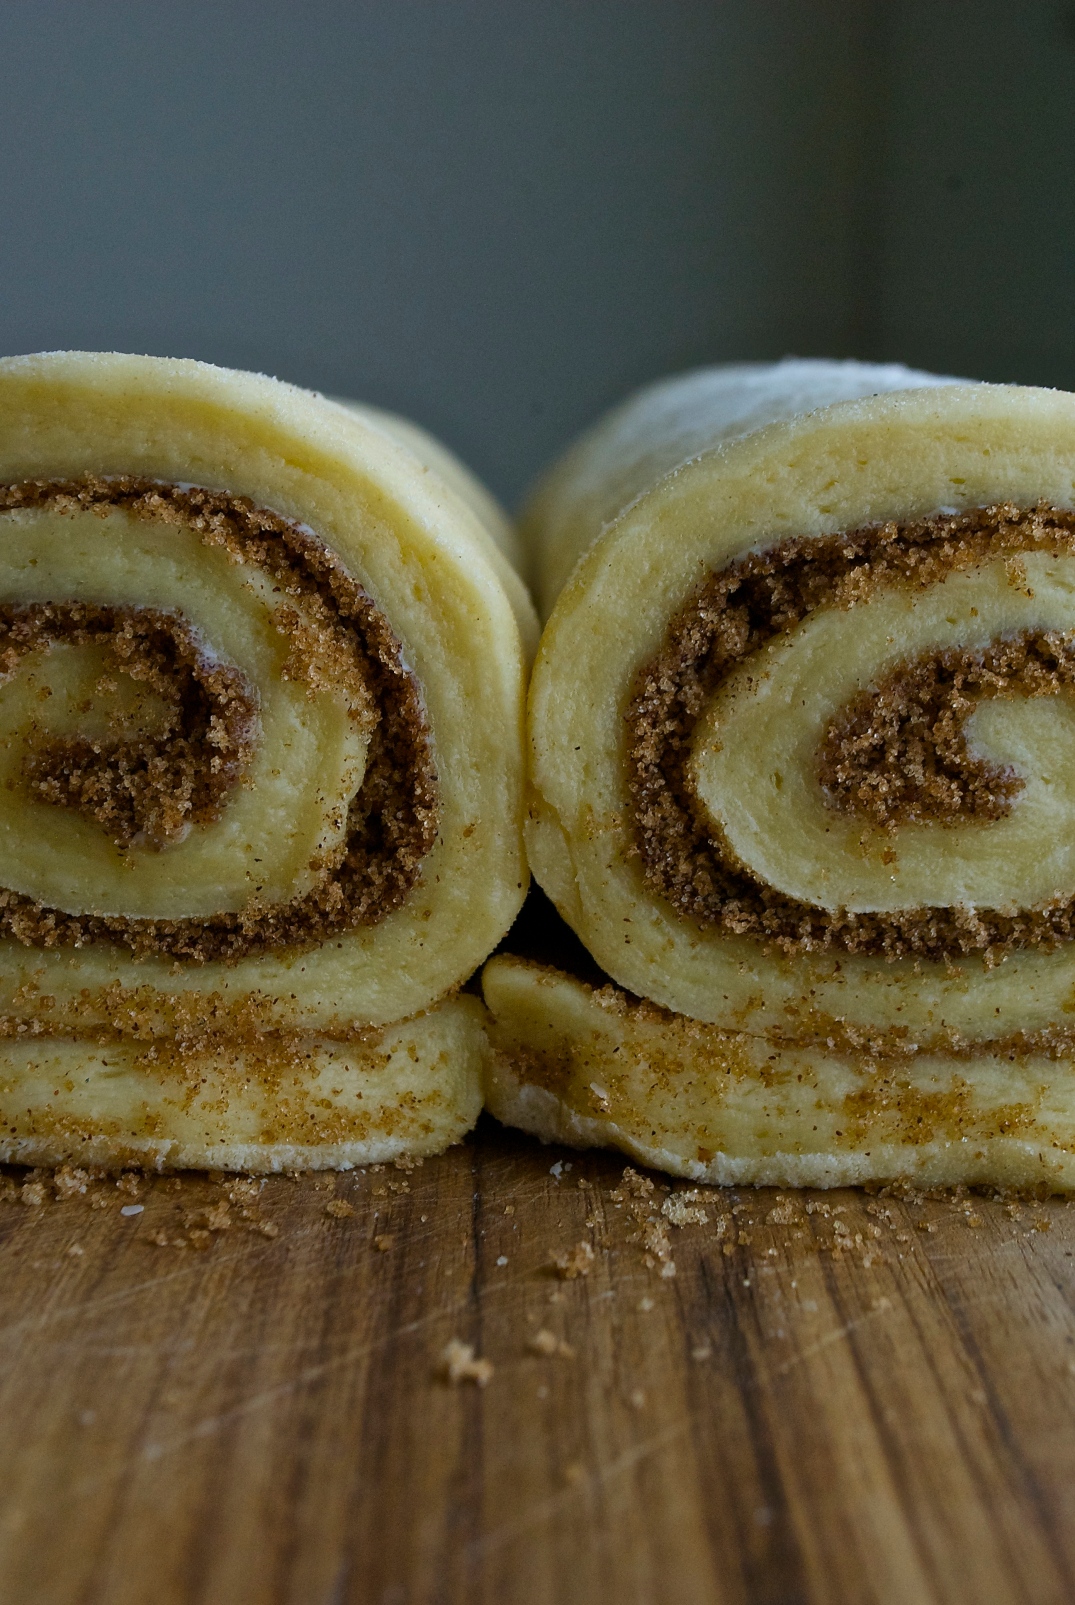
Roll the dough out until it is 18 inches on both sides. (Mine was more rectangular than square but who’s counting?) Using an offset spatula spread the butter evenly across the surface of the dough. This is why you want your butter to be very soft.
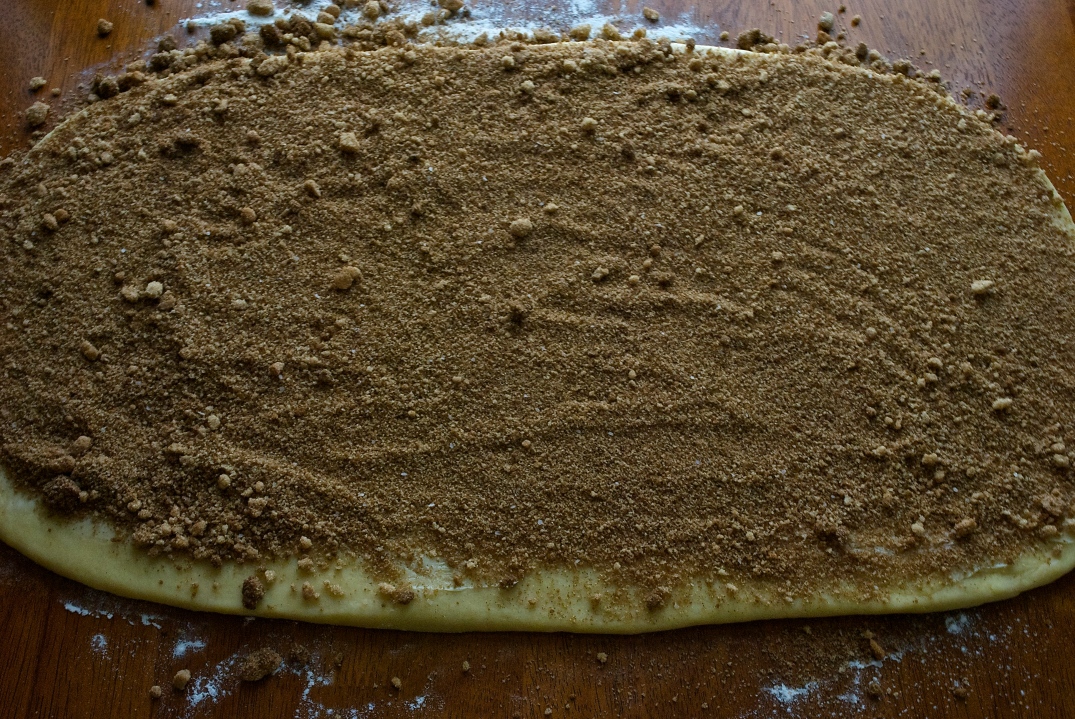
Sprinkle the cinnamon sugar on top of the butter and lightly press the sugar into the butter.
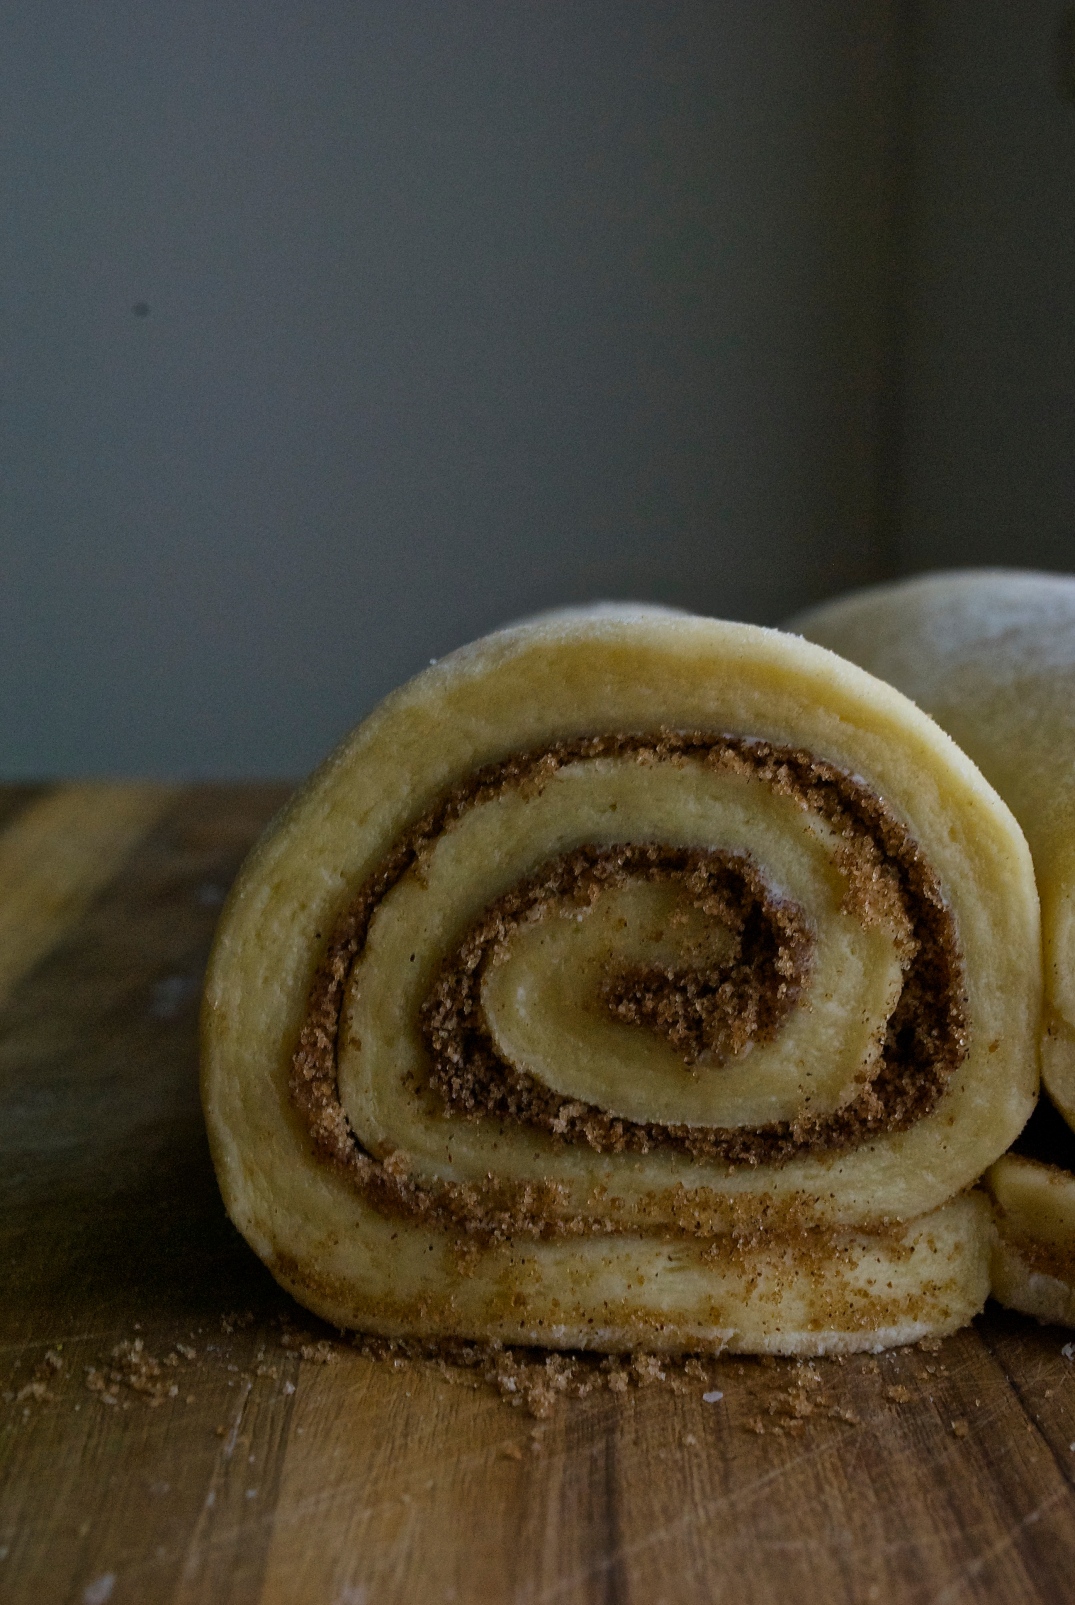
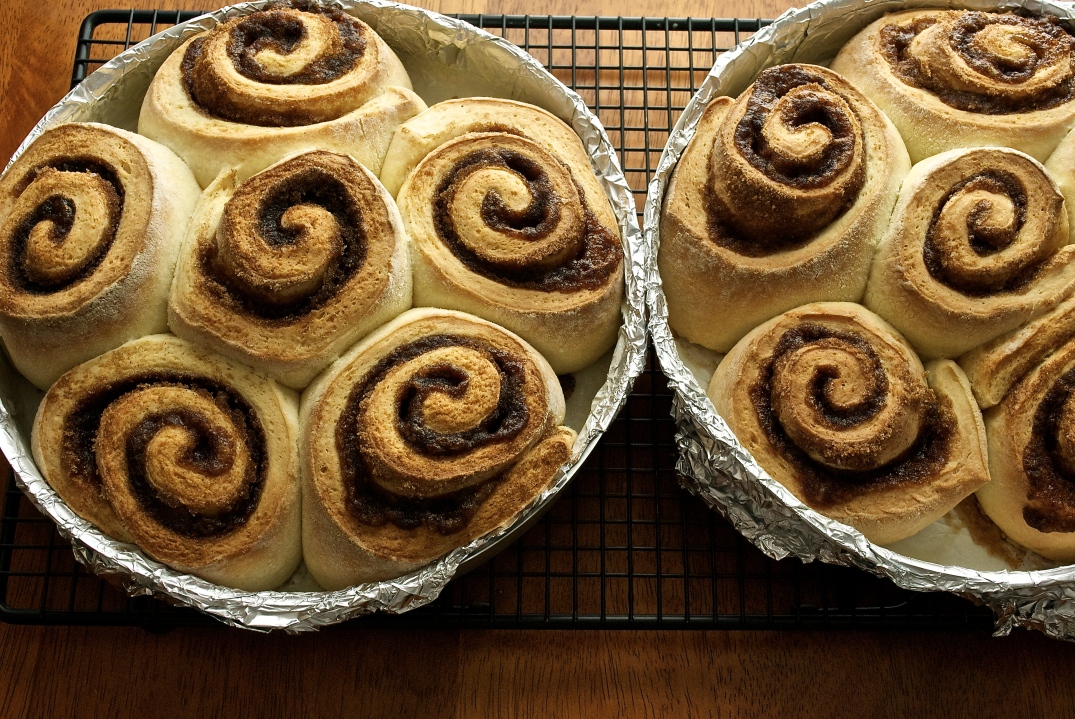
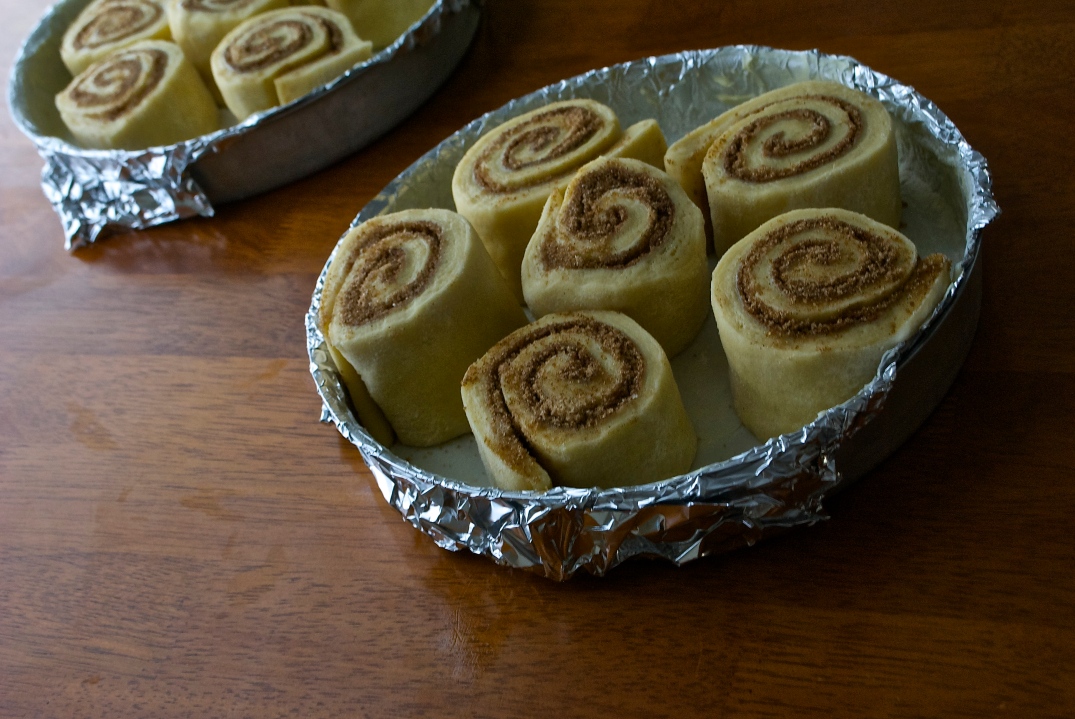
Tightly roll the dough into a tight cylinder and pinch the edge lightly to form a seam. If using a 9×13 pan, cut the dough into eight rolls. If using two 9×9 pans, cut the dough into twelve rolls.
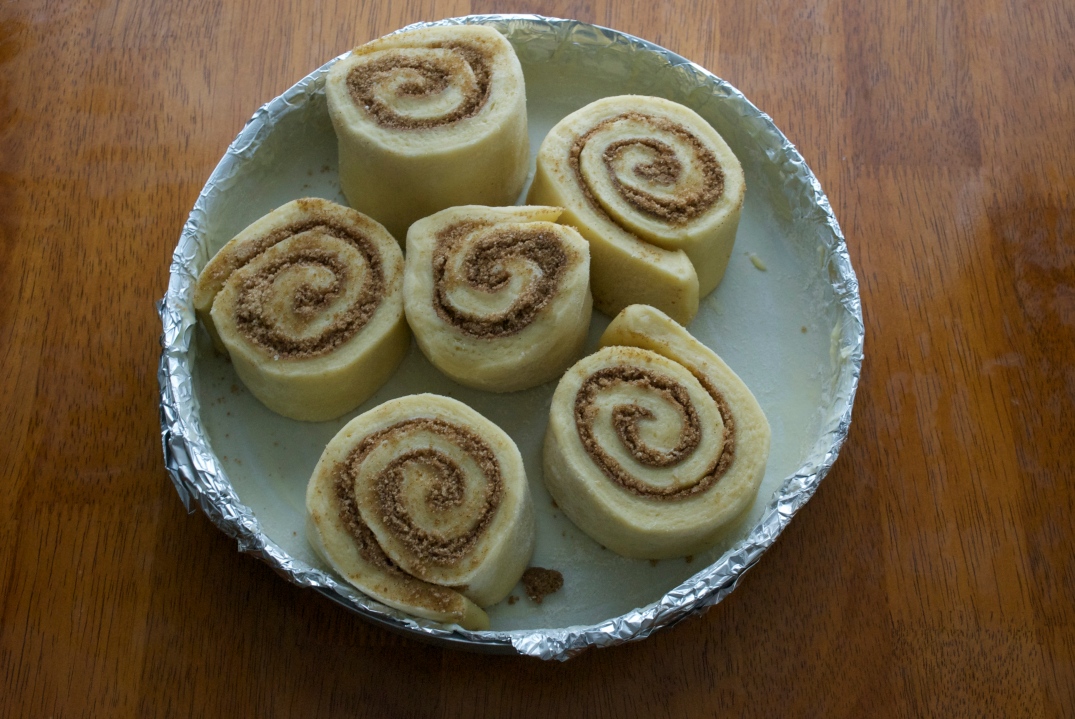
Place the rolls into the pan and cover with plastic wrap. Let the rolls rise in the oven until doubled in size, about 1 hour.
For the glaze –
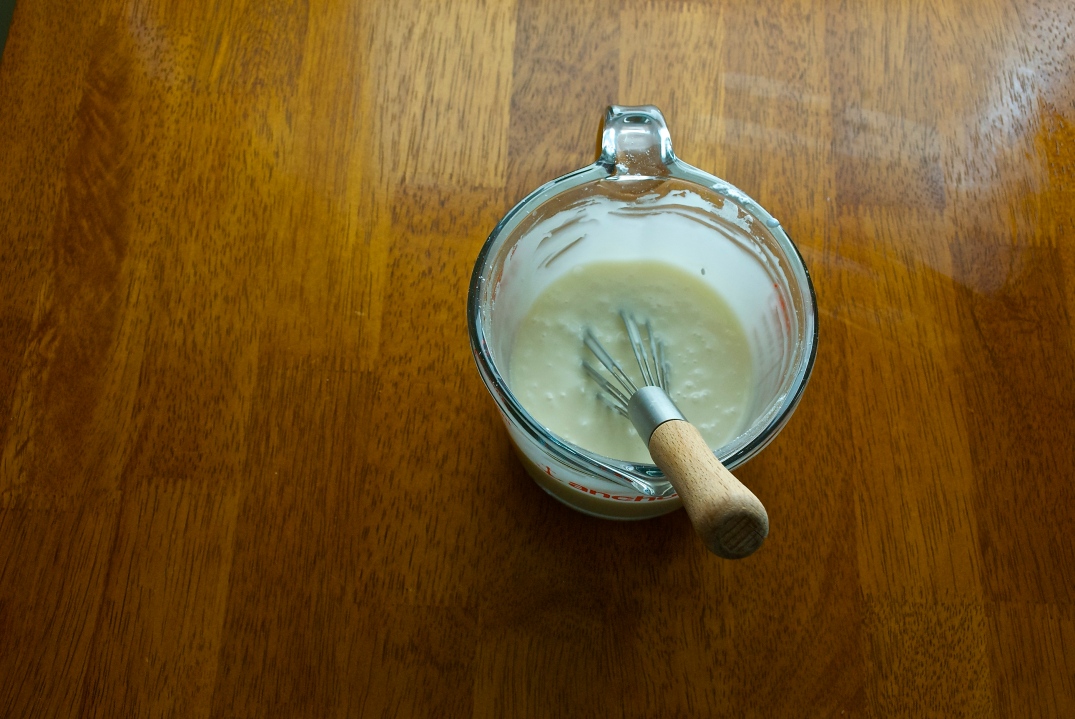
Remove the buns and the pan of water from the oven, and heat the oven to 350 degrees. Whisk the butter, sugar, vanilla, and salt together in a bowl. If needed add warm milk one tablespoon at a time. Whisk until mixture is smooth and set aside.
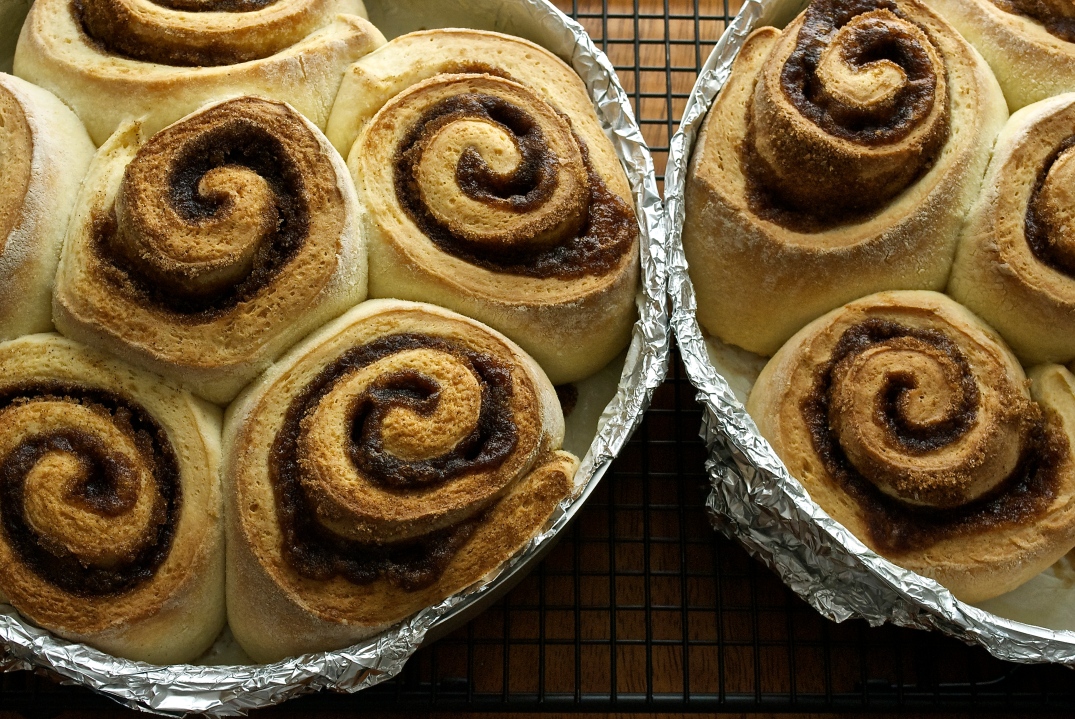
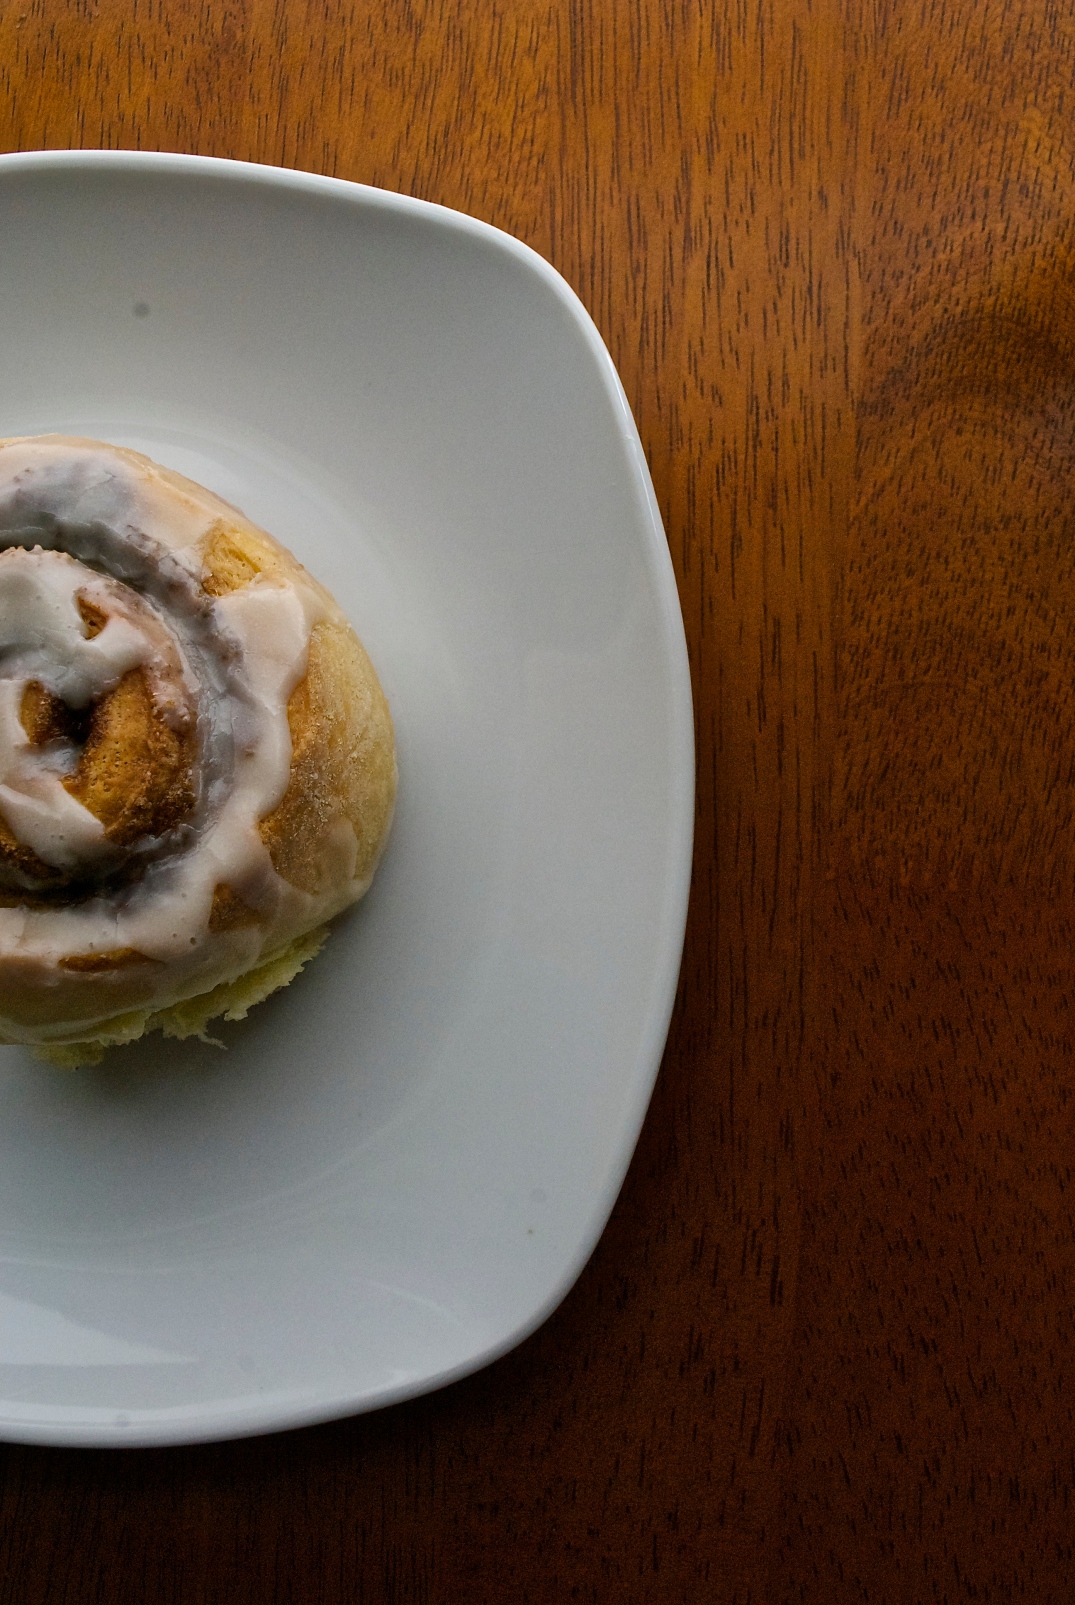
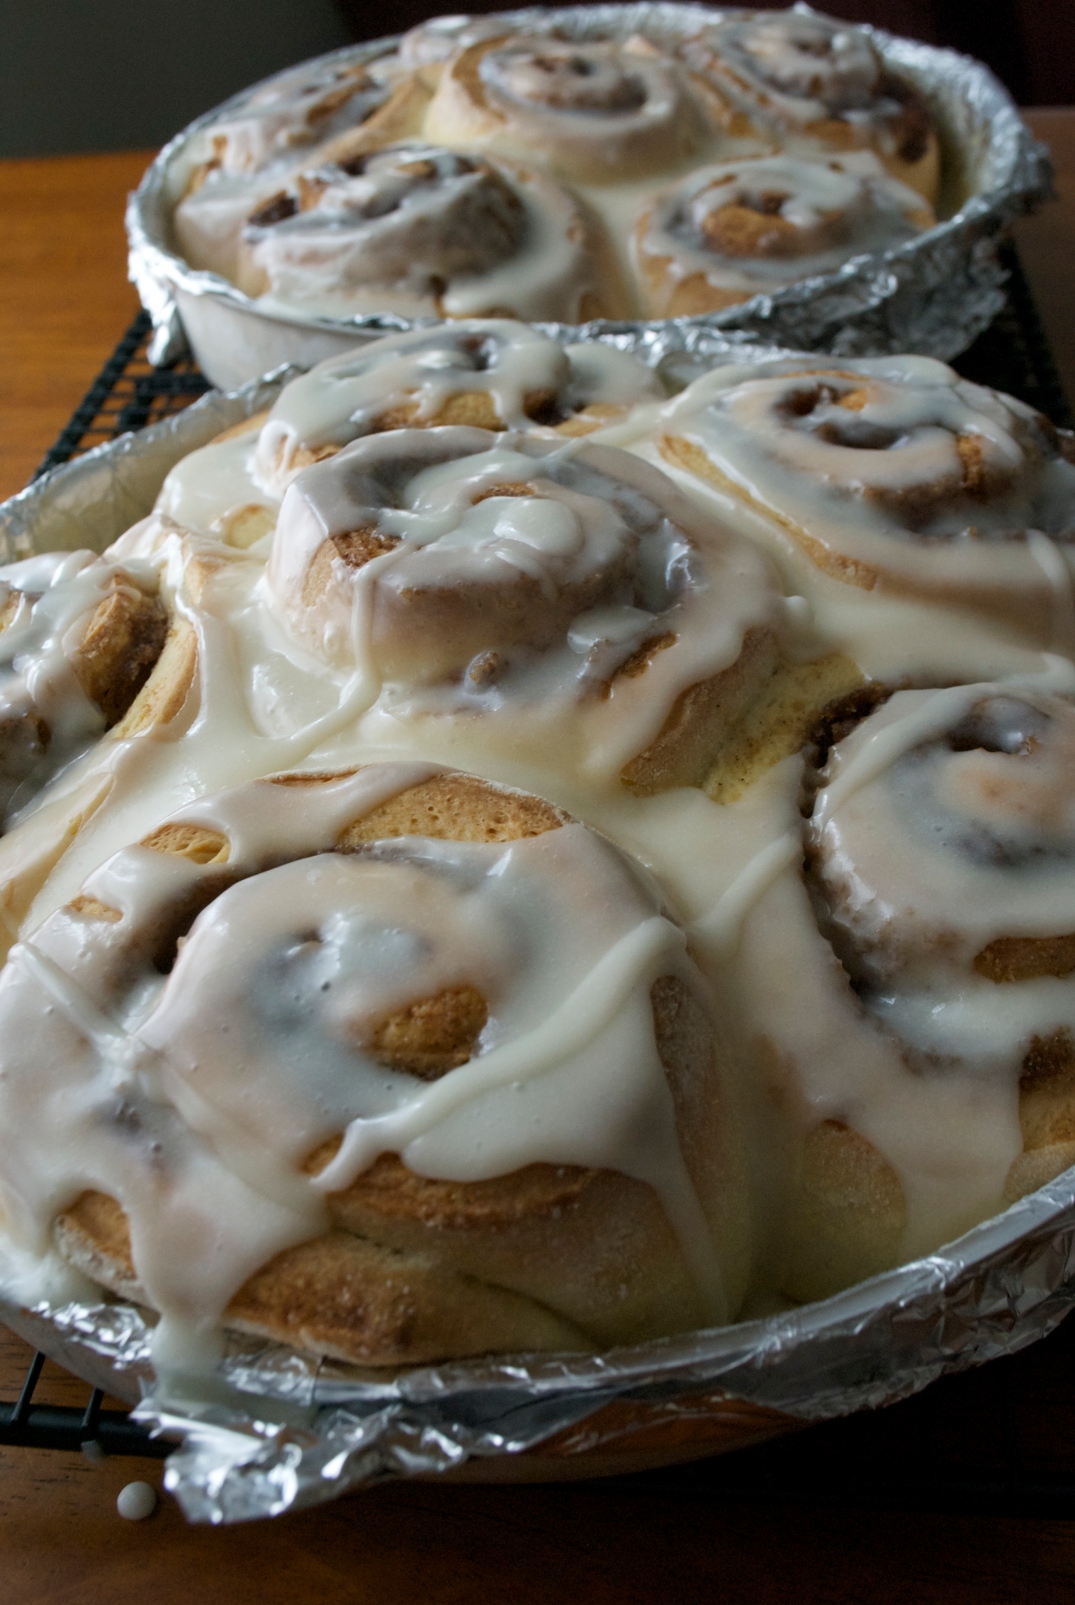
Once the buns have doubled in size and the oven is preheated, place the buns into the oven and bake until the dough becomes a deep golden brown, which will take about 35-40 minutes. Be sure to rotate the pan halfway through so the buns cook evenly. Transfer the pan to a wire rack, and top with ½ of the glaze.
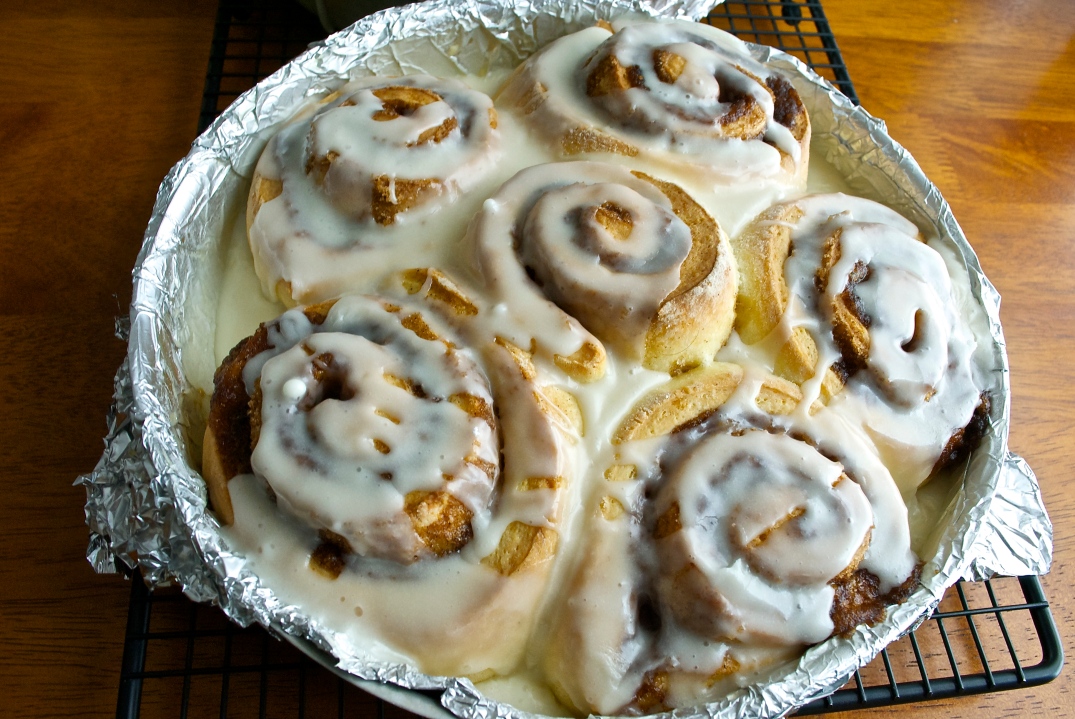
Once you’re ready to serve the buns (like your answer wouldn’t be immediately), top with the remaining glaze and serve.
**Just a note – if you’re considering making these the night before, you can! Instead of letting the dough rise once you’ve placed it in the pans, cover the dough tightly in plastic wrap, and place the pans in the refrigerator overnight. About an hour before you’re ready to bake them, take the buns out of the fridge and let them warm to room temperature. You can follow the recipe as normal after that!
For the Dough –
Line a 13 x 9” or two 9×9” baking dish with tin foil, coat with butter and then flour. Set aside. Whisk the milk and yeast together and set aside until the yeast dissolves and becomes slightly foamy. Add in the eggs and whisk thoroughly.
Using a stand mixer that has the dough hook attachment, add flour, cornstarch, sugar, and salt. Mix together until combined. Slowly add warm milk mixture and continue to mix for another minute. Once the dough begins to combine, increase the mixer to medium speed and add the butter in one cube at a time. Once the dough is smooth and comes away from the sides of the bowl, remove it from the mixer. If needed, add additional flour a few tablespoons at a time. Knead the dough with your hands until it forms a smooth ball. Place into an oiled bowl, cover, and place into the oven. In a separate pan, add three cups of boiling water. Let the dough rise for two hours until doubled in size.
For the Filling –
Combine brown sugar, cinnamon and salt in a bowl. Take the dough out of the oven and turn out onto a lightly floured surface. Roll the dough out until it is 18 inches on both sides. (Mine was more rectangular than square but who’s counting?) Using an offset spatula spread the butter evenly across the surface of the dough. This is why you want your butter to be very soft. Sprinkle the cinnamon sugar on top of the butter and lightly press the sugar into the butter. Tightly roll the dough into a tight cylinder and pinch the edge lightly to form a seam. If using a 9×13 pan, cut the dough into eight rolls. If using two 9×9 pans, cut the dough into twelve rolls. Place the rolls into the pan and cover with plastic wrap. Let the rolls rise in the oven until doubled in size, about 1 hour.
For the glaze –
Remove the buns and the pan of water from the oven, and heat the oven to 350 degrees. Whisk the butter, sugar, vanilla, and salt together in a bowl. If needed add warm milk one tablespoon at a time. Whisk until mixture is smooth and set aside.
Once the buns have doubled in size and the oven is preheated, place the buns into the oven and bake until the dough becomes a deep golden brown, which will take about 35-40 minutes. Be sure to rotate the pan halfway through so the buns cook evenly. Transfer the pan to a wire rack, and top with ½ of the glaze. Once you’re ready to serve the buns (like your answer wouldn’t be immediately), top with the remaining glaze and serve.
**Just a note – if you’re considering making these the night before, you can! Instead of letting the dough rise once you’ve placed it in the pans, cover the dough tightly in plastic wrap, and place the pans in the refrigerator overnight. About an hour before you’re ready to bake them, take the buns out of the fridge and let them warm to room temperature. You can follow the recipe as normal after that!
